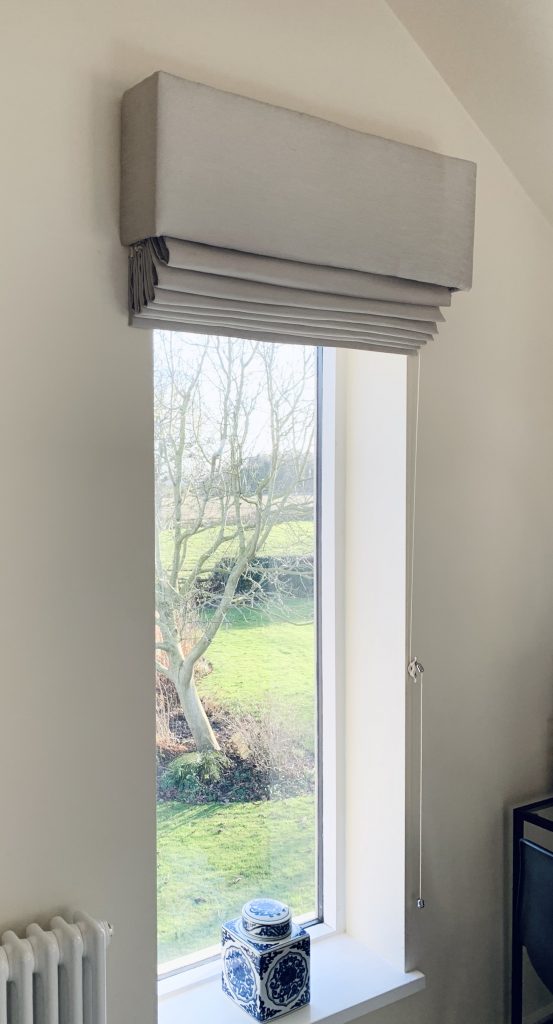
My favourite kind of window dressing; not only because they offer a fuss-free simple alternative to curtains, but they’re also much cheaper as they involve considerably less fabric! I am not a big fan of short curtains and long curtains usually get in the way of radiators, which are invariably placed underneath windows. On first glance, they seem complicated to make, but follow each step carefully and ‘measure twice, cut once’ and you’ll be fine.
What You’ll Need
- Sewing Machine
- Scissors
- Needle and Thread
- Aluminium Roman Blind Bar 30mm (The plastic ones, in my opinion, are not heavy enough to weight the blind sufficiently)
- Plastic Roman Blind Rods or Wooden Dowels (4mm)
- 13mm Plastic Blind Hoops
- White Blind Cord (Usually sold in 5 or 10m packs – if you have an extra tall blind, buy 10m, others 5m should be sufficient)
- Fabric
- Lining
- Wall Cleat
- Cord Connector & Pull
- Wooden Batten
- Screw Eyes
- Stick & Sew tape
Measuring the window
You can either fit the blind inside the recess (for a simpler, pared-back look) or outside the recess. Where you have a window width of 130cm or more, I would recommend splitting it into two blinds for two reasons; 1) wide blinds will begin to sag in the middle and 2) joining fabric will look unsightly as you’ll see the seam.
Inside the recess – Measure the width of the recess in 3 places, taking the shortest measurement. Measure the length (drop) in 3 places, taking the shortest measurement.
Outside the recess – Measure the window recess as above, adding 10cm to the length and 10cm to the width. This will ensure that there is enough fabric to cover the window opening.
Fabric Requirements
The choice of material is up to you, but ensure that you purchase enough material to cover the width and drop, ADDING an extra 5cm to the width for the side hems and 10cm for the top and bottom hems.
Linings
Whilst not essential, I would recommend lining your blind and these instructions are for a lined roman blind. Purchase enough material to cover the width and drop of the blind, plus 50cm. This extra is for the rod pockets (explained later) and top/bottom hems.
Step 1 – Cutting Out
Iron the fabric and lining.
Cut the fabric to the required size REMEMBERING to add an extra 10cm to the length (drop) for the top and bottom hems and an extra 5cm to the width for the side hems. Next, cut the lining to the EXACT WIDTH of the blind, but allow an extra 10cm to the length. It is really important that both the fabric and the lining should be cut square and straight. Mark the centre of both the lining and the fabric at the top and bottom.
Step 2 – Join the Fabric and the Lining
Lay the fabric on a flat surface face up. Place the lining face down on top of the fabric, ensuring that the left hand edges are directly on top of each other (this will leave 5cm of fabric showing on the right). Now pin the left hand edges together and sew down the length with your sewing machine, 1cm in from the edge. Remove the pins as you go. Lay the fabric/lining back on the table and pull the lining over to the right hand edge, pin and sew as above. Now turn the fabric and lining so that they are no longer inside out. Lay the blind flat on the table with the lining side facing up. Position the centre marks (top and bottom) on the lining and the fabric and pin together to hold in position. Iron flat. There should be an approximate 2cm border of fabric at each side of the blind and it should be the correct width for your measurements. Note: approx. 1cm is lost from the width when turning the fabric and this has been allowed for).
Step 3 – Make the Bottom Hem
Turn up a 1cm hem and iron to form a neat hem. Next turn up a further 4cm to create a pocket for your bottom bar. Pin and sew in place. Try to use thread that colour matches your fabric so it is less visible.
Step 4 – Preparing the Rod Pockets
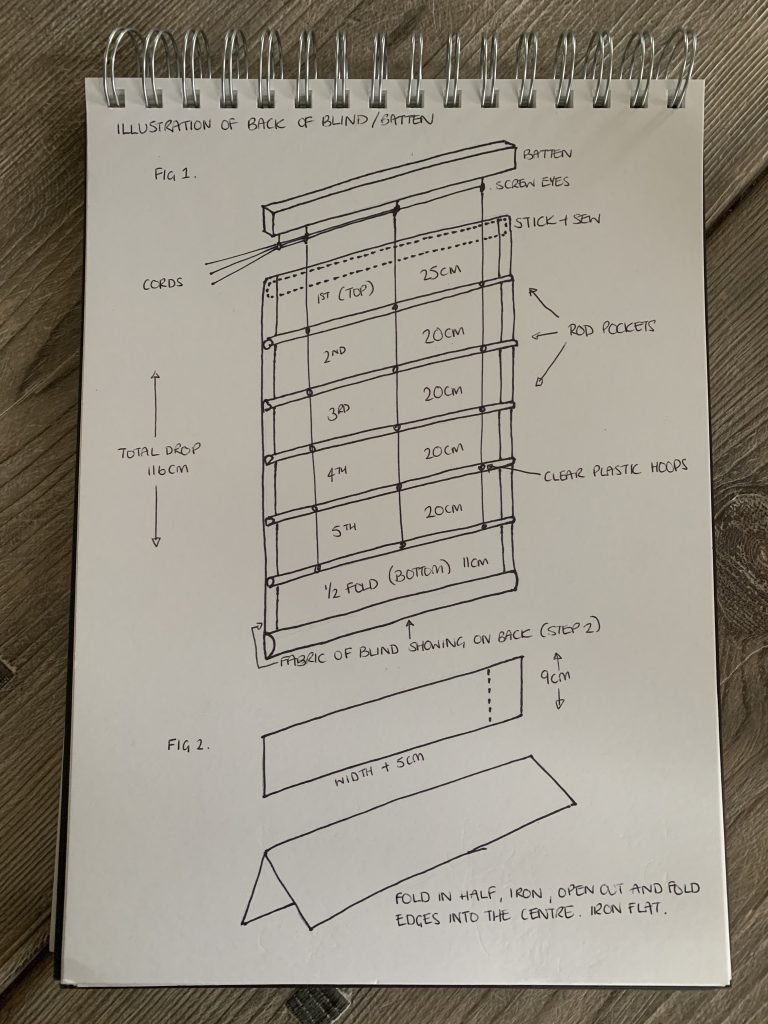
(Fig. 2) Cut 9cm strips of lining the width of your blind, plus 5cm. Next, fold each strip in half and iron flat. Now open the strip and fold the outer edges into the centre and iron flat. Turn the end of the strip in by 1-2cm and stitch it closed (keeping the other end open for now). Repeat for the required number of rod pockets (see Step 5).
Step 5 – How to Work Out the Position of the Bar Pockets
(Fig. 1) You are aiming for equal folds when the blind is drawn up. The top section must be longer by 5cm to allow for the depth of the fixing batten. The bottom section is always half a section plus 1cm. Proceed as follows: Deduct 6cm from the total drop to allow for the top and bottom sections. Now divide the balance of the drop by the number of folds required in the blind and include the half fold eg. 3 ½ , 4 ½ , 5 ½ etc. The folds will be formed between the rod pockets. The distance between the pockets can vary up to 45cm depending upon the number of pockets chosen and the drop of the blind.
Example
| Total drop of the blind | 116cm |
| Deduct variation for top and bottom sections | -6cm |
| Subtotal | 110cm |
| Divide this by the number of folds required: | |
| In this case 5 1/2 | 20cm |
| So each section is 20cm. The bottom section is 10cm |
The calculations in this instance will be
| 1st section | 25cm |
| 2nd section | 20cm |
| 3rd section | 20cm |
| 4th section | 20cm |
| 5th section | 20cm |
| 1/2 section | 11cm |
| Total | 116cm |
Step 6 – Marking Out the Pocket Position on the Fabric
Lay the blind flat on the table with the lining uppermost. Carefully measure from the bottom, working towards the top. In the example above, the first mark will be at 11cm, then 4 marks at 20cm intervals. The last mark for the top section will be at 25cm. Keep checking your measurements throughout to ensure the blind remains at the correct drop. Once you’re happy with the measurements, draw feint pencil lines across the lining to mark the positions of the pockets and pin in place.
Step 7 – Stitching on the Pockets and Inserting the Rods and Bottom Bar
Take the first prepared rod pocket and sew it in place along the first of the marked pencil lines, keeping the open end of the pocket facing towards the top of the blind. Take care to keep the sewing line straight and use matching thread to your fabric to keep it less noticeable. Repeat for all pockets and remove pins as you go.
Step 8 – Attaching the Stick and Sew to the Heading of the Blind
Double check your drop again – there should be approx. 5cm of excess fabric above the final pencil line. Allow 2cm above this line and trim off the excess. Turn over as a 2cm hem and lay the soft (sew) side of the stick and sew on top of the hem. The stick side will attach to your wooden batten. Sew along the top and bottom of the strip. Now cut your rods and bottom bar to the width of the blind, less 2cm. Insert all into place and hand sew the pockets closed.
Step 9 – Attaching the Rings to the Pockets
(Fig. 1) Measure 7cm in from each side, hand sew rings onto the bottom edge of each pocket. Add further rows evenly across the width of the blind with no more than 50cm gaps, eg on a blind measuring 100cm wide, from the left, sew rings at 7cm, 50cm and 93cm.
Step 10 – Prepare the Headrail
Cut the wooden batten to the width of the blind and insert screw eyes to the bottom of the batten at the same positions as your plastic hoops plus one extra at 1cm from the edge to carry the cords to the end of the rail on the pull side. This can be on the left or the right. Fix the batten on the inside or outside of the recess as per your requirements. I would recommend using screws and rawl plugs for this to keep it secure. Once fixed in place, fix your stick strip of the stick & sew onto the face of the batten – the screw eyes should be hanging down from the bottom of the batten.
Step 11 – Cording the Blind
Put the blind on the table with lining facing uppermost. If you want your blind to pull up from the right, start on the right hand side of the reverse of the blind. Loop and knot the end of the cord through the bottom plastic hoop and feed the cord through the hoops until you reach the top. Continue across the width of the fabric and allow 30cm past the last screw eye so that the cord connector can be attached. Repeat all vertical rows.
Step 12 – Fixing the Blind in Place
This part is a bit fiddly – take your time – an extra pair of hands comes in very useful! Standing on a stool with your helper holding the weight of the blind, starting on the left, thread the cord through all of the screw eyes until you reach the right hand side. Repeat for all vertical rows. Holding the cords securely, stick the fabric to the batten, ensuring it is on straight. Pull on the cords until the blind is drawn up fully. Check you’re happy that it’s straight and level and whilst continuing the hold the cords securely, drop the blind down again to check that it’s straight and level when pulled down.
Step 13 – Attaching the Cord Connector
Unscrew the top of the cord connector and pull through all the cords. You will need to adjust each cord as necessary to ensure the blind pulls up straight and that the position of the cord connector is such that the blind can be pulled down completely. It’s worth holding the connector in position and pulling the blind up and down a few times to check/adjust. Once you’re happy, knot the cords on the inside of the connector and screw the other end back on. The length of the cord provided with the connector can be adjusted as required by pulling it through the end of the blind pull and knotting in place. Follow any instructions provided with it.
Step 14 – Fix the Cleat in the Required Position
Using screws and rawl plugs (usually provided with the cleat) fix in the required position to hold the blind when drawn up.
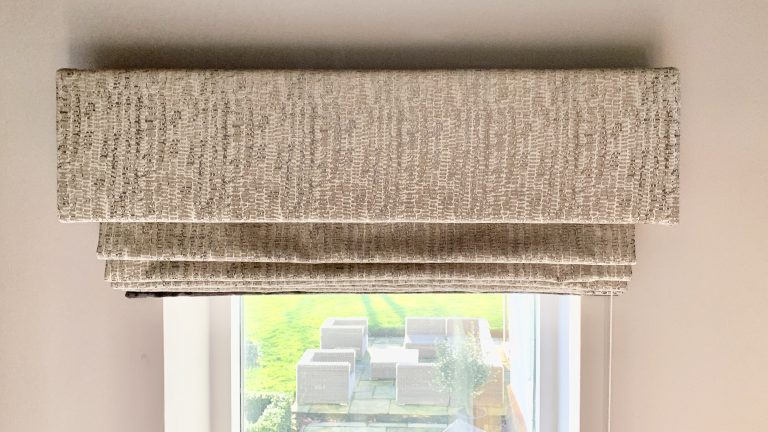
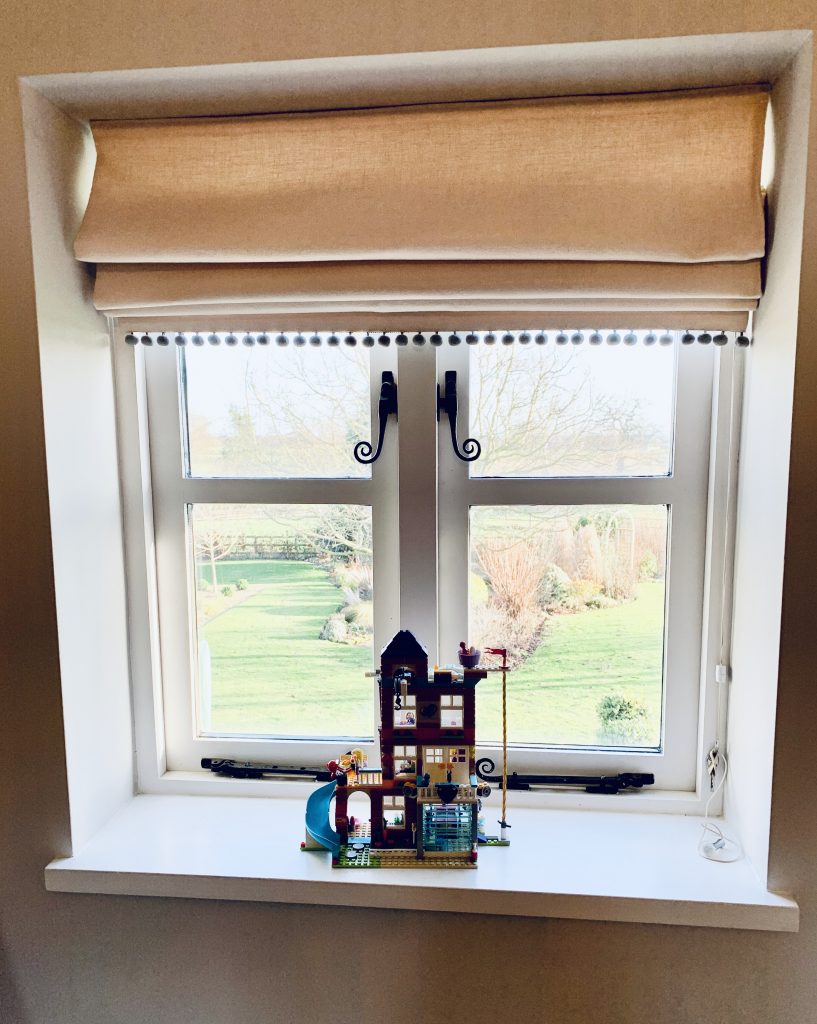
All done. When written down the process seems so daunting (it took me hours to make my first roman blind!) but with care and time, you should hopefully have perfect results. Practice also helps and you’ll become much quicker at getting to the finished result. There are so many variations you can try; fixed pelmet above the blind, cord/pompom trim, fabric borders etc.
Good Luck!
Lydia x


