We had a load of bricks left over from our build that had been stored behind the shed and I knew I wanted to create a little paved seating area. I did lots of research into patterns and how to set out the bricks – Pinterest was a great source of inspiration for this.
Agreeing on the size of the paved area, we worked out how many bricks we would need, adding a 20% contingency for all the cuts we would need to make.


We decided to lay out the outer border and the herringbone pattern in two ways; the first, following the longest length of the patio and the second, following the shortest length. If you were creating a herringbone path, you would choose to lay the herringbone pattern following the direction of travel, i.e the length of the path, however, whilst our paved area was narrow, we felt it looked better for the herringbone pattern to face the direction we would sit on it (at the end of our tennis court to watch the game).

Tools
- Spade
- Rubber mallet
- Angle grinder with diamond blade
- Hearing protection
- Spirit level
Materials
- Bricks
- Edging boards
- Hardcore
- Sand
- Cement
- Paving sand
We wanted two square flower beds at each end of the patio, so we edged each end with gravel boards to support the bricks. After digging out the area and preparing a hardcore base, we covered it with approx. 3” sand and began laying the outer border of bricks. Once we were happy with this, we set out a string line across the length of the area to help us keep the pattern in line. We then set out the herringbone pattern with all the full bricks needed, checking regularly that we were keeping it straight and level. This was very much a process of putting them down, standing up, walking round, looking, checking with a spirit level and adjusting as necessary.

Next came the tricky part, cutting all the fiddly bits to finish the pattern! This was very time consuming, but worth the effort to get right. Once we were happy with the pattern and levels, we mixed paving sand and cement to a ratio of 4:1 and brushed between the gaps. It’s really important that you do this on a dry day when the bricks are bone dry – any damp will cause the cement to stain the bricks. Using the flat edge of a trowel, we packed down the sand and cement mix to fill the gaps and remove any air pockets. Our bricks were very textured and at first looked as though we’d ruined them with the cement mix…but don’t panic!! Keep brushing the surface of the bricks until the worst has gone. Now, using a fine mist from your hosepipe, gently saturate the surface and as you go, scrub the tops of the bricks with a stiff brush. The aim is for the water to gently soak down the gaps to set the sand/cement mix. The mix will start to harden, but don’t walk on the area for at least 24 hours.
**Disclaimer** I’m in no way a paving expert and I’m sure someone will tell me I’ve done it wrong, but I’ve just given advice based on our experience in giving it a go ourselves.

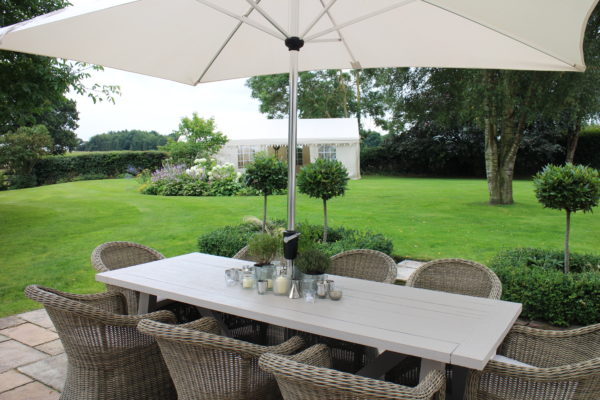
Once we’d finished, I planted two Pyrus Salicifolia Pendula trees each side and underplanted these with Nepeta “Six Hills Giant”.